Easy Plum Jam (Without Added Sugar or Pectin)
This easy plum jam recipe is one of my autumn favourites. It is one of the best ways to preserve plums in a natural way, without any added sugar or pectin.

In fact, to make this delicious, sugar-free, super easy plum jam you will need only one ingredient – ripe plums. To make the jam, we will simply roast the plums in the oven at the right temperature until they soften and get a nice, juicy and thick jam consistency.
This plum jam recipe doesn’t call for any added sugar or pectin – the plums are already sweet from their natural fruit sugar, and their skins are naturally rich in pectin. The plum jam will get its perfect consistency without adding anything extra.

Type of plums to use for the jam
To make this oven-baked plum jam without added sugar and pectin, you can use any variety of plums that you prefer. Larger and juicier fruits will take longer to cook than the smaller ones or the ones with a smaller water content.

The only real “requirement” in this recipe is that you use fully ripe plums. Yes, it will be possible to make this jam even with slightly unripe fruits, but since we are not using any extra sugar here, these unripe plums won’t really give you a sweet, tasty and juicy jam.
Using plums that are not ripe enough will often result in a jam that lacks flavour, is too dry to spread (or use in other jam-like ways) and is not that sweet. In order to get the perfect jam even grandma would approve – go for the ripe plums.
Cooking and storing the plum jam
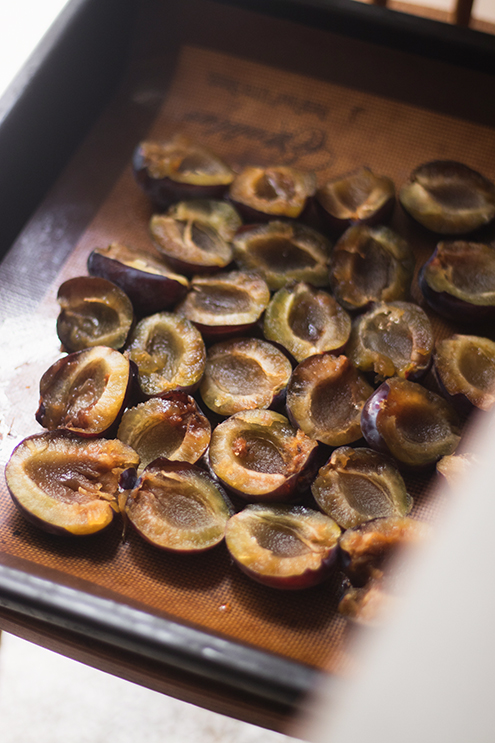
You will simply need to roast the plums in the oven until you get the soft, mushy, jam-like texture, and that is more or less it – your plum jam is done and it was really that easy! I like to do this at 170 to 175 °C, not higher to avoid burning the plums (especially if their natural sugar content is high).
I like to protect the baking tray with a silicone baking sheet. It is not a must, but it makes it easier to handle the plums and to clean afterwards. I also open the oven a couple of times while the plums are inside, to check how soft they have gotten, to crush them a bit and stir them to get evenly roasted.

When the consistency of the roasted plums is soft, juicy and somewhat thick (but spreadable!) when you stir them, the jam is ready. The time required to achieve this depends on how large and juicy the fresh plums were.
After the plums have cooled down a bit (to around 70 to 100 °C) on the baking tray, you can transfer the plum jam into glass jars. I have described how to sterilise jars and prepare them for storing your jams in this post.

Closed and sterilised jars with this roasted plum jam can be kept at a cool, dry place for months. An opened jar will probably last for up to a week in the fridge (sometimes even more; if it doesn’t get mouldy and if it looks and smells normal – then it is perfectly good and safe to eat).
Serving ideas
As for enjoying this oven roasted plum jam, it is so easy to combine it in many delicious ways. Here are some of my favourite ways to eat this plum jam:
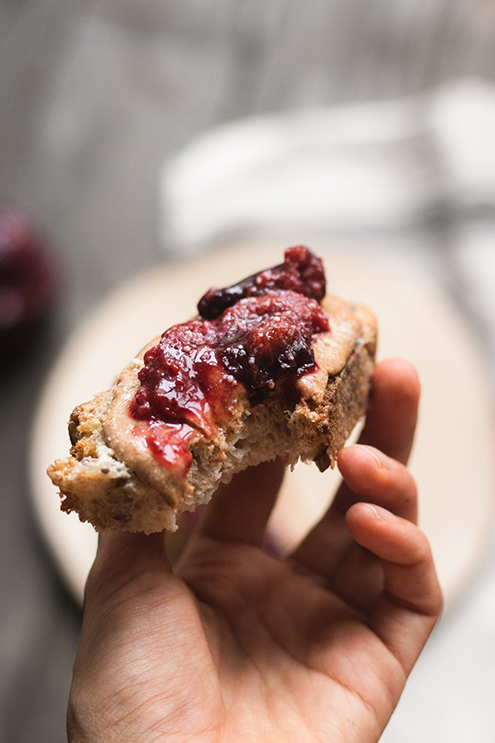
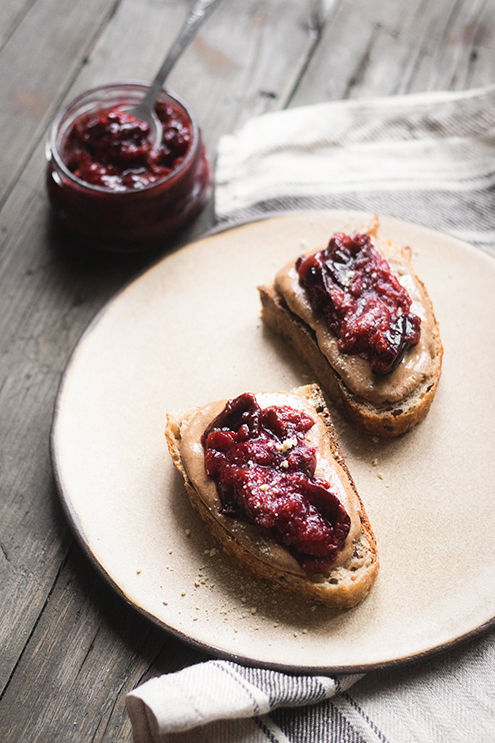
- on a slice of homemade spelt flour sourdough bread or this delicious pumpkin and cornmeal soda bread, alone or with some homemade almond or hazelnut butter (PB&J style, but I personally like the hazelnut combination even better – with plum jam it’s just the perfect local autumn flavour);
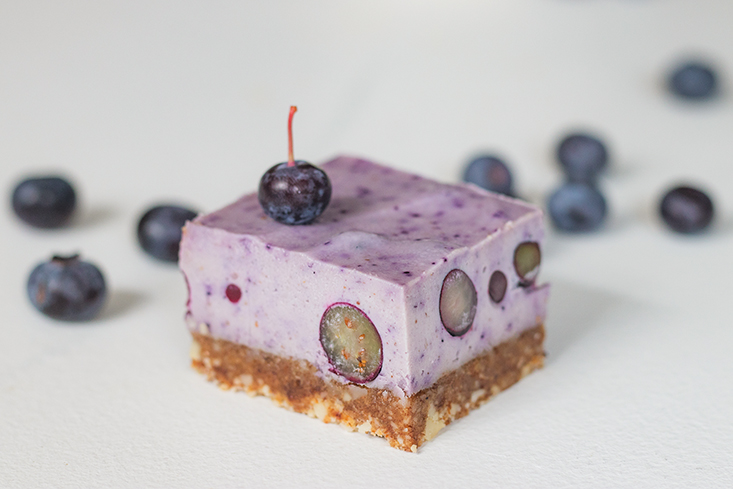
- in this chia pudding breakfast bowl without added sugar – the plum jam will add the perfect amount of sweetness to it;
- in these thin vegan spelt flour pancakes;
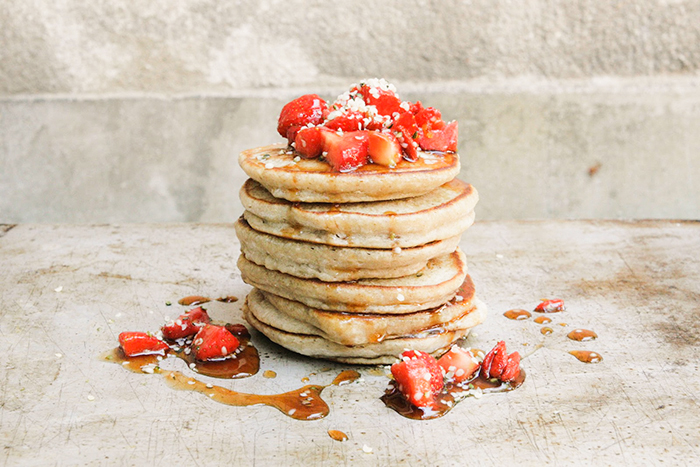
- on top of these fluffy oatmeal pancakes.

Easy Plum Jam
This easy plum jam is a great way to preserve some if the delicious plums when they are in season. In this recipe there is no added sugar or pectin - only oven roasted plums, and the flavour is amazing.
Ingredients
- 1 + 1/2 kg ripe plums (or the amount that will cover your baking tray)
Instructions
- Remove the pits form the plums.
- Place the plum halves on a baking tray, in one layer, with the skin facing down.
- Roast the plums at 175 °C for about 45 minutes.
- Open the oven, crush the plums with a spatula and give them a stir (if the tray is not completely full, do this carefully, to avoid their juice spilling to the sides and drying out or burning).
- Bake the crushed plums for another 30 minutes, or until they get the consistency of a jam.
- Take the tray out of the oven and let it cool down to around 70 to 100 °C.
- Stir the jam once again and fill the sterilised glass jars with it.
- Close the jars, clean them with a clean wet cloth if needed, and put in the oven at 80 to 100 °C to sterilise them once again. This step is optional, but it makes sure your sealed jars are well protected form any mould or bacteria that might want to eat your jam.
- Store the sealed jars with plum jam in a cool, dry, dark place and they should last for many months. After opening one, keep it in the fridge and use within a week or so. As long as it's mould-free, looks and smells fine - it is good to eat.
Notes
* You can occasionally open the oven and stir or crush the plums, especially if you have a larger variety that takes longer to soften.
* Baking time will depend on the size, ripeness and amount of liquid in your plums. The time I've written here works best with the common plum variety (bistrica) that we have in northern Croatia. You can keep an eye on the batch while it's in the oven, and adjust the baking time as needed.
* If you are not sure how to properly sterilise jars to keep the jam properly stored, you can check out this article about sterilising jars for jams and preserves. There I described three simple ways to do it, plus how to sterilise the sealed jars if needed.